Understanding Moving Average (Cool Example)
You probably learned about average in school or college. A moving average is just an extension of that idea, and in the stock market, we use it as an indicator to easily identify the trend. To understand how a moving average works, first we need to understand how an average is calculated.

You and your five friends are sitting at a beach, enjoying chilled beverages on a bright sunny day. After some time, you all want to calculate how many bottles you consumed on average.
| Sl No | Person | No. of Bottles |
|---|---|---|
| 01 | A | 5 |
| 02 | B | 4 |
| 03 | C | 2 |
| 04 | D | 4 |
| 05 | E | 5 |
| Total | 20 |
So, you add all the bottles consumed by each person and divide the total number of bottles by the total number of people. This gives you a simple average.
In this case, it would be:
=20/5
=4 bottles per head.
So, in this case, the average tells us how many bottles were consumed overall per person. But it does not mean that everyone drank exactly the same amount.
Example:
- Person A drank 5 bottles, which is above the average
- Person C drank 2 bottles, which is below the average
This means the average (4 bottles) is just an estimated value, not the exact number for each person. It simply helps us understand the overall behavior, but we should not expect it to be perfectly accurate for everyone.
Exactly the same way, in the stock market, a moving average works like this average.
Instead of people and bottles, here we take price data (like closing prices). We add the prices of a certain number of candles (for example, last 5 or 20 candles) and divide it by that number to get an average price.
Example:
- Some prices will be above the moving average
- Some prices will be below the moving average
This means moving average is not an exact price, it is just an estimated trend line that shows the overall direction of the market.
- If price stays below the moving average – market is likely in downtrend
- If price stays above the moving average – market is likely in uptrend
Moving Average = Not exact price, but an average line that helps you understand market direction
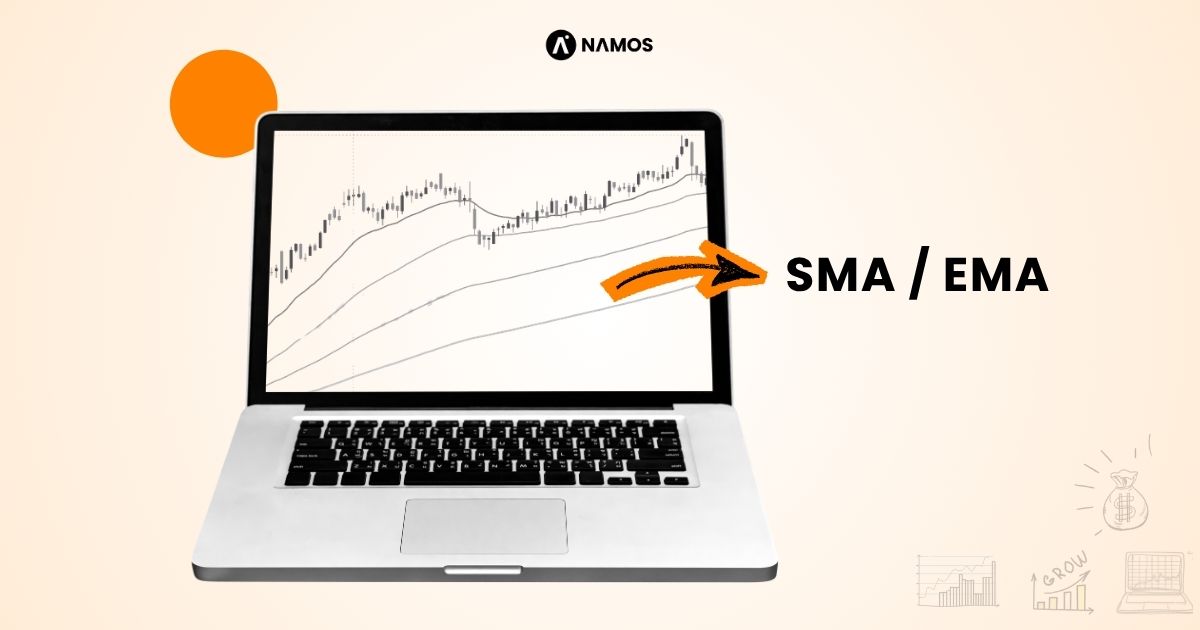
What is SMA (Simple Moving Average)
SMA (Simple Moving Average) is a type of moving average where all data points are given equal importance.
Using the same example:
if five people (A = 5, B = 4, C = 2, D = 4, E = 5) consumed bottles, we simply add all the values and divide by the number of people to get an average of 4. In this method, every person’s consumption has the same weight.
whether it is old or recent. Similarly, in the stock market, SMA takes the average of past prices and treats all prices equally, which makes it slower to react compared to EMA but useful for identifying a smooth and stable trend.
What is EMA (Exponential Moving Average)
EMA (Exponential Moving Average) is a type of moving average that gives more importance to the most recent data.
Using the same example:
if five people (A = 5, B = 4, C = 2, D = 4, E = 5) consumed bottles, a simple average (SMA) treats all values equally and gives an average of 4. However, EMA focuses more on the latest values, meaning Person E and D will have more influence on the average compared to A, B, and C. So, if the last person consumed more bottles.
The EMA will shift towards that higher value. In the stock market, the same concept applies—recent prices are given more weight, which is why EMA reacts faster and helps traders identify the current trend more quickly.
RSI Indicator Explained – Best Settings, Strategies, Formula and How to Use
How to Use SMA and EMA Indicator in Trading
SMA and EMA are widely used to identify trend, find entry points, and improve trade timing. The main idea is to understand where the price is moving and how it reacts around these averages.
Support & Resistance with EMA and SMA
SMA and EMA can act as dynamic support and resistance levels. In an uptrend, price often takes support from EMA (like 20 EMA), and in a downtrend, it faces resistance near these levels.
Example: If price comes near 20 EMA and bounces back up, it shows buying interest.
Just like your bottle example, EMA gives more weight to recent activity, so it reacts faster to these support/resistance zones.
Trend Direction
Moving averages help identify the overall market direction:
- Price above EMA/SMA – Uptrend
- Price below EMA/SMA – Downtrend
EMA reacts faster, so it shows trend changes earlier, while SMA gives a smoother confirmation.
EMA & SMA Crossover
The EMA and SMA crossover is a simple and widely used method to identify potential trend changes. When a short-term EMA crosses above a long-term SMA (or EMA), it indicates that recent prices are gaining strength, which can signal the start of an uptrend (bullish signal).
On the other hand, when the short-term EMA crosses below the long-term moving average, it shows weakness in price and can signal a downtrend (bearish signal).
Just Like 20 EMA crossing above 50 SMA indicates potential upward momentum.
EMA Angle (Slope)
The angle (slope) of EMA helps you understand the strength and direction of the trend.
When the EMA is moving upward with an angle around 20° to 30°, it indicates a healthy and strong uptrend, and price is more likely to continue moving upward.
When the EMA starts turning downward with a similar 20° to 30° angle, it shows a strong downtrend, and price is likely to move lower.
If the EMA is flat or has a very small angle, it usually means the market is sideways (range-bound) and not ideal for trend trading.
Strong EMA angle (20°–30°) = Clear trend direction – Flat EMA = No clear trend
EMA Ribbon Strategy
The EMA Ribbon Strategy uses multiple EMAs (for example, 20, 50, 100, 200) plotted together on the chart to understand the trend strength and market direction. When all EMAs are properly aligned and spread out in one direction (short-term EMA above long-term EMA), it indicates a strong trending market.
In an uptrend, the smaller EMAs stay above the larger ones and act as dynamic support, where price often pulls back and continues upward. In a downtrend, the opposite happens—EMAs align downward and act as dynamic resistance.
If the EMAs are tangled or crossing each other, it usually means the market is sideways, and it’s better to avoid trading.
Entry Using EMA/SMA
In an uptrend, when the price is consistently trading above EMA/SMA and candles are closing above them, it confirms bullish momentum. Instead of entering immediately, we wait for a pullback—when the price comes back near the EMA/SMA (acting as dynamic support). Once the price respects that level and a bullish candle closes, it becomes a potential entry point.
In a downtrend, the opposite happens. Price stays below EMA/SMA, and when it pulls back toward these levels (acting as resistance) and shows rejection with a bearish candle close, it creates a selling opportunity.
Stop Loss Using EMA/SMA
When using EMA for stop loss, the idea is simple – follow the EMA and the recent candle structure.
In an uptrend, when price is trading above the EMA and you take a buy entry, your stop loss should be placed just below the EMA or slightly below the recent candle low near the EMA. This helps you stay in the trade as long as price respects the EMA.
In a downtrend, when price is below the EMA and you take a sell entry, your stop loss should be placed just above the EMA or slightly above the recent candle high near the EMA.
This method ensures that your stop loss is aligned with the trend and EMA level, not based on guesswork.
Common Mistakes Using EMA & SMA
One of the biggest mistakes traders make is using EMA and SMA without understanding market conditions. Many traders blindly follow crossovers or signals in a sideways market, which often leads to false entries. Another common mistake is taking trades without confirmation, just because price touched the EMA/SMA. Some traders also use too many moving averages, which creates confusion instead of clarity. Ignoring proper stop loss and structure while using EMA/SMA is another major issue.
The key is to use EMA and SMA with clear rules, proper market context, and confirmation, not blindly.
Conclusion – EMA and SMA
EMA is a powerful and practical indicator that helps traders understand trend direction, momentum, and key trading levels. Since it gives more importance to recent price, it reacts faster and provides quick signals compared to SMA.
From identifying trend direction, using EMA as dynamic support and resistance, taking entries on pullbacks, applying crossover strategies, to managing stop loss based on structure, EMA can be used in multiple ways to build a complete trading system.
However, EMA alone is not enough—you should always combine it with proper price action, market conditions, and risk management.